How to Record a Teams or Zoom Call on Mac Without a Meeting Bot
Most AI notetakers work by joining your call as a participant. You connect a calendar, and from then on a bot named something like “Otter.ai Notetaker” shows up in the attendee list of every meeting, announces itself, and streams the audio to a server somewhere. That’s fine right up until it isn’t — and there are a lot of ways it isn’t.
Sometimes the meeting host has external participants blocked, so the bot never gets in. Sometimes IT has blocked it at the tenant level, which is increasingly common in Microsoft Teams environments. Sometimes it joins fine but the optics are wrong: a bot sitting in a one-on-one with your direct report, or in a client call where you’d rather not open the “what is that recording us?” conversation. And sometimes you’re on a call that has no bot pathway at all — a phone call on speaker, a Slack huddle, a browser-based meeting you were sent a link to five minutes ago.
The good news is that recording a meeting on a Mac doesn’t require a bot at all. Your Mac can already hear both sides of the conversation; the only question is how you get at that audio. Here are the real options, in rough order of how much friction they involve.
Why this is harder than it should be
Recording your own voice on a Mac is trivial. Recording the other person is the hard part, and it’s hard by design.
macOS treats system audio — everything coming out of your speakers, including the other participants’ voices — as protected. An app can’t just tap the audio output stream the way it can grab the microphone. Historically there was no supported API for it at all, which is why an entire cottage industry of virtual audio drivers exists. Modern macOS (14 and later) does provide sanctioned ways to capture system and per-process audio, but they sit behind the Screen Recording privacy permission, which is why an app that only wants your meeting audio still has to ask for something that sounds alarmingly broad.
So every approach below is really answering the same question: how does this tool get the far-end audio, and what does it cost you?
Option 1: QuickTime Player (free, and half a solution)
QuickTime Player is already on your Mac and can start a new audio recording in two clicks. It’s genuinely useful for capturing your own side of a call, a voice memo, or an in-person conversation.
What it will not do is record the other participants. QuickTime can capture the microphone, and that’s it — there’s no system-audio input available to it. Point it at a Zoom call and you’ll get a recording of yourself talking into silence, with faint bleed-through if your speakers are loud enough for the mic to pick up. That bleed-through is not a transcript you can use.
QuickTime also gives you a bare audio file and nothing else: no transcription, no speaker separation, no summary. Fine as a fallback. Not a meeting workflow.
Option 2: The built-in recording in Zoom or Teams
Both Zoom and Teams can record natively, and if you’re the host this is the path of least resistance — no extra software, no permissions to grant, and in Teams’ case a transcript through Microsoft’s own service.
The catches are real, though. You need host or recording permission, which rules it out for most calls you’re merely attending. Everyone gets the loud “this meeting is being recorded” banner, which changes how people talk — sometimes that’s exactly right, sometimes it kills the candor you were hoping to capture. Cloud recordings in Zoom eat into your plan’s storage and often expire. And in Teams, the recording and transcript land in the organizer’s OneDrive or SharePoint under your employer’s retention policy, which means the notes from your own meetings aren’t really yours to keep.
Option 3: A virtual audio device (BlackHole or Loopback)
This is the classic power-user route. You install a virtual audio driver — BlackHole is free and open source, Loopback is around $119 and much friendlier — and use it to route your Mac’s audio output into a recordable input. Then you point QuickTime, Audio Hijack, or any recorder at that input.
It works, and audio professionals swear by it. But as a meeting habit it has sharp edges. You build a Multi-Output Device so you can still hear the call while it’s being routed, and getting that configuration right takes a few tries. You have to remember to switch to the right output device before the meeting starts, and switch back after, or your next YouTube video plays into nowhere. Volume behavior gets strange. Software updates occasionally break the driver and you get to debug kernel-adjacent audio plumbing during your lunch break. And at the end of all that you still have an audio file with no transcript.
If you record meetings twice a year, this is a fine free answer. If you record ten a week, the manual switching will eventually cause you to lose a call you needed.
Option 4: A local recorder that captures the meeting directly
The last option is an app that uses the modern macOS audio-capture APIs to record microphone and system audio itself — no virtual driver, no device switching, no bot in the participant list. Everyone on the call keeps talking to a normal meeting; your Mac just also happens to be listening.
Several apps do a version of this. Meetily and other open-source options are free if you’re comfortable with setup. Granola is the polished commercial take — worth knowing that bot-free isn’t the same as on-device: Granola captures the audio locally, then streams it to cloud transcription providers (Deepgram and AssemblyAI) before deleting the recording, so the audio does leave your Mac. What you’re choosing between is mostly: how much setup, where the audio goes, and what you get back besides a wall of text.
This is the category Life Manager Pro sits in, so here’s specifically how it handles the four friction points above.
It notices the meeting on its own. A background detector watches for Zoom, Microsoft Teams, Webex, and Slack huddles — including new Teams, which is awkward to detect because it no longer creates the virtual audio device older versions did. When a call starts, a small floating prompt appears asking whether to record it. If the meeting is on your calendar, the title comes across automatically, so the recording is already labeled before you’ve said hello.
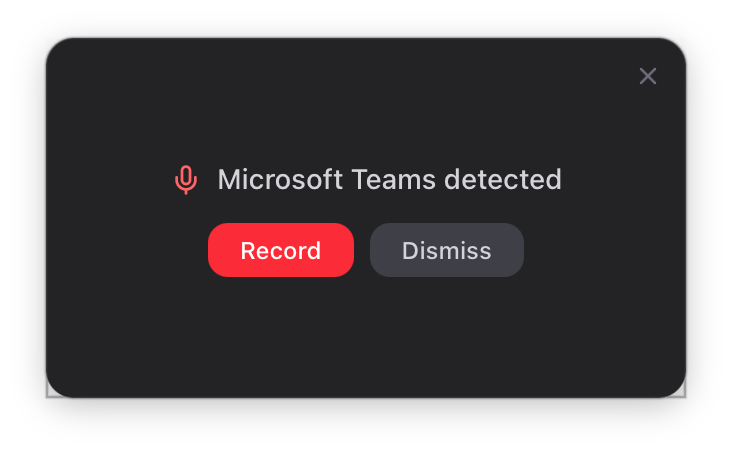
A detected Teams call, with the prompt to start recording. Decline it and it goes away.
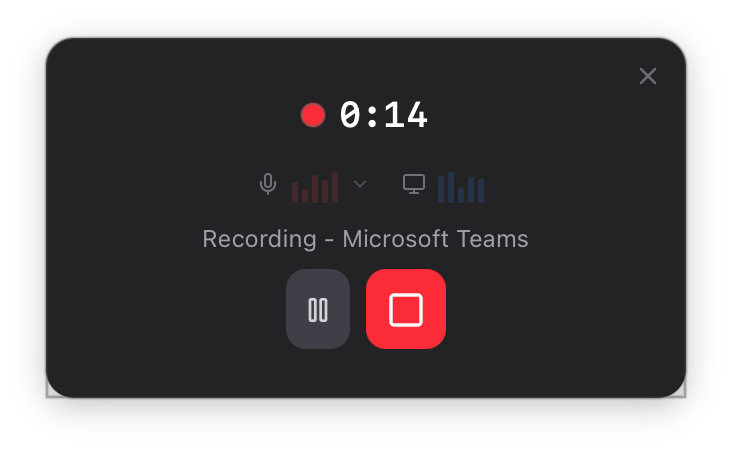
It records both sides without any routing. Microphone and system audio are captured as separate streams, which is what makes “you” and “them” distinguishable later. Two macOS permissions are needed the first time — Microphone, and Screen Recording for the system-audio side — and after that it’s silent.
Transcription happens on your Mac. Whisper runs locally against the audio file — no upload, no account, and it works on a plane. Nothing about the audio requires a network connection at any point.
The transcript becomes something other than a transcript. This is arguably the part that matters more than the recording: an optional analysis step pulls out a summary, decisions, and action items with owners attached, and those action items can become real tasks in your task list rather than bullet points you’ll never reread. That step is the one thing here that can involve a cloud service — you supply your own Anthropic or OpenAI API key, and only the transcript text is sent, never the audio. You can also skip it entirely and keep a purely local recording and transcript.
For browser-based meetings, like Google Meet, automatic detection doesn’t apply — a call in a Chrome tab looks like Chrome. You start those from the menu bar, and everything downstream behaves the same.
Record without a bot, transcribe without the cloud
Life Manager Pro detects your Zoom, Teams, and Webex calls, records both sides locally, and transcribes on-device with Whisper — then turns the action items into actual tasks. Native Mac app, $49 once. 14-day free trial, no credit card.
Try Life Manager Pro freeOne thing to settle before you record anything
Recording laws vary by where you and the other participants are, and this is worth thirty seconds of thought rather than none. Some U.S. states — California, Florida, Pennsylvania, Washington and others — require all parties to consent to recording a conversation, not just you. The EU treats it under GDPR. Many employers have their own policy that’s stricter than the law.
None of that makes recording your meetings sketchy. It does mean the fact that a local recorder is quiet shouldn’t be mistaken for permission to be secretive. The practical answer used by most people who record client and internal calls: say “I take notes with a transcription tool, let me know if you’d rather I didn’t” at the top of the call. It takes five seconds, it almost never gets a no, and it converts the whole question from a legal risk into a courtesy.
The difference from a bot isn’t that nobody knows. It’s that the tool isn’t making the announcement for you, in the middle of your meeting, on its own terms.
Which one should you actually use
If you record a meeting occasionally and only need your own voice, QuickTime is already installed and costs nothing. If you’re the host and your employer’s retention policy is where the transcript should live anyway, use Zoom or Teams’ built-in recording. If you enjoy audio plumbing or already own Loopback for other reasons, the virtual-device route works and you’ve probably already got it configured.
If you’re in meetings all week, want both sides captured without thinking about it, and want the audio to stay on your own machine — that’s what the local-recorder category is for, and it’s worth trying one before you resign yourself to a bot in every call.